How to Cook Crispy Pork Belly in the Oven

Pork belly, when cooked correctly, transforms into a symphony of textures and flavors. The rendered fat creates a meltingly tender interior, while the skin becomes shatteringly crisp. This method focuses on oven-roasting to achieve that perfect balance, offering a controlled environment for even cooking and maximum crispiness. A simple salt and herb rub enhances the pork's natural richness without overpowering it.
Oven roasting is ideal for pork belly because it allows the fat to slowly render, basting the meat from within and creating a self-basting effect. The initial high heat helps to blister the skin, setting the stage for the ultimate crispy crackling. Finishing at a lower temperature ensures the meat remains succulent and tender.
Understanding Pork Belly
Pork belly is the uncut, uncured, and unsmoked belly of a pig. It's prized for its high fat content and rich flavor. When selecting pork belly, look for a piece with a good meat-to-fat ratio, a consistent thickness, and a pale pink color. The skin should be smooth and free of blemishes.
You'll typically find pork belly in two forms: skin-on and skin-off. For this recipe, we recommend skin-on pork belly, as the skin is what gives you that signature crackling. If you can't find skin-on, you can still use skin-off, but the final result won't be quite as spectacular. Ask your butcher to score the skin for you; this makes the cooking process more efficient and ensures the skin renders evenly.
Why Cook Pork Belly This Way?
- Flavor: Slow roasting renders the fat, resulting in incredibly rich, savory flavor.
- Texture: The combination of crispy skin and tender meat is unmatched.
- Relatively Hands-Off: Once prepped, the oven does most of the work.
Preparation (Mise en Place)
- Thawing: If frozen, thaw the pork belly in the refrigerator for 24-48 hours.
- Drying: Pat the pork belly dry with paper towels. This is crucial for achieving crispy skin. Moisture is the enemy of crispiness.
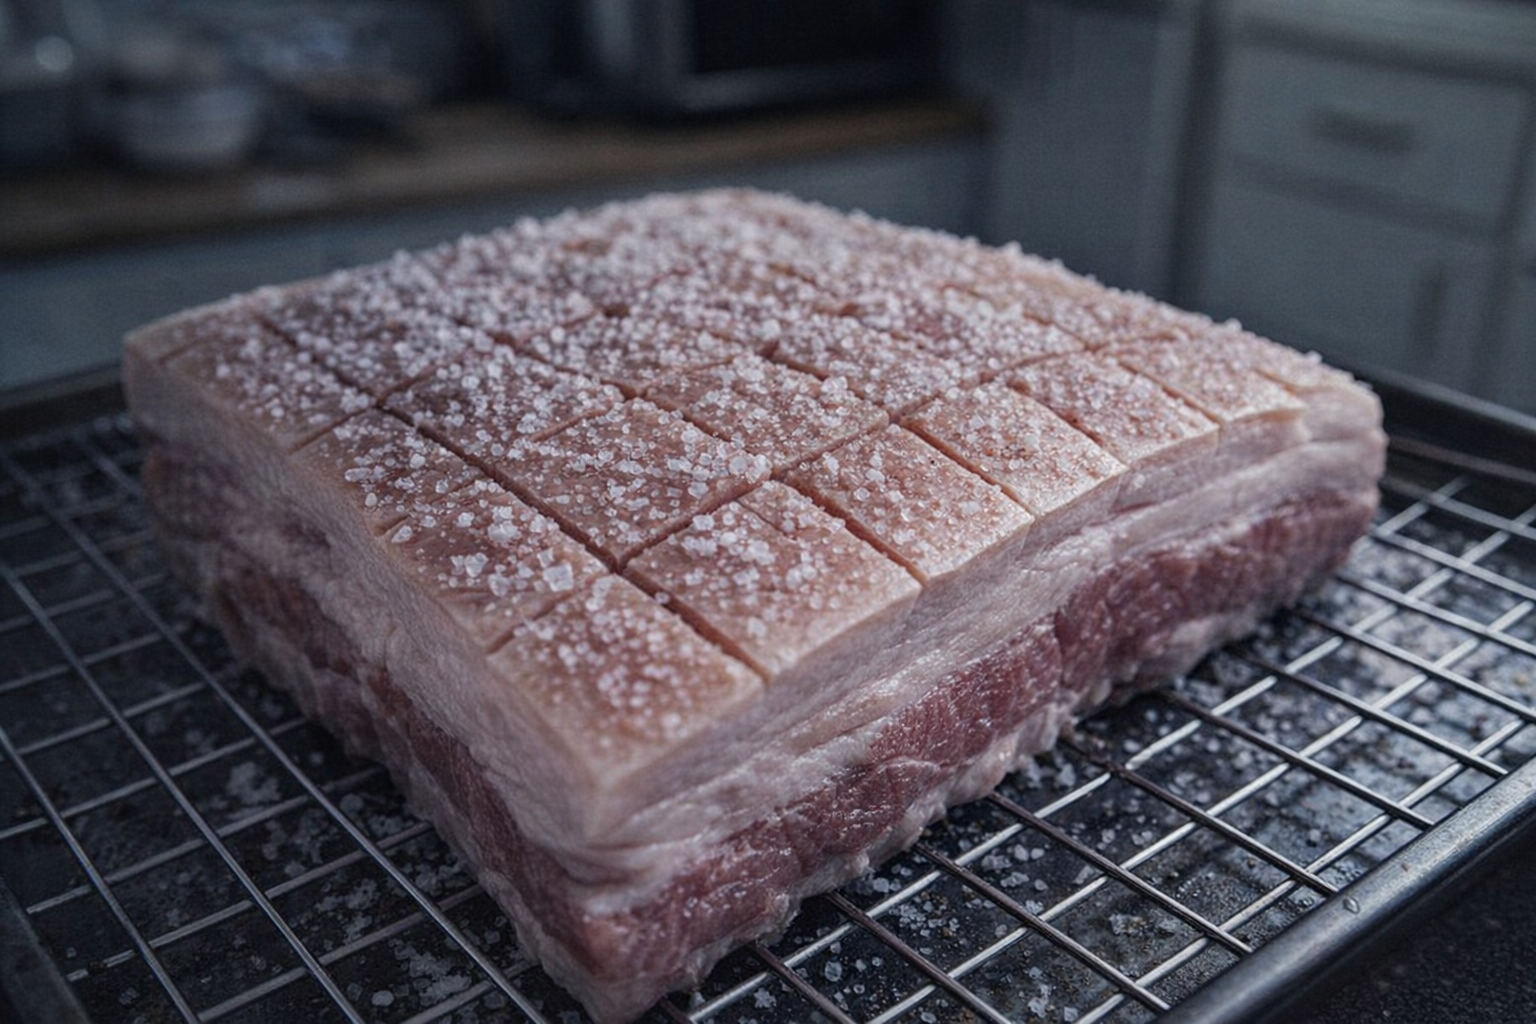
- Scoring (If Not Already Done): If your butcher hasn't already scored the skin, use a sharp knife to make shallow cuts in a crosshatch pattern, about 1 inch apart. Be careful not to cut into the meat.
- Salting (Optional Overnight Step): For even drier skin, liberally salt the skin and let it sit uncovered in the fridge overnight. Rinse and pat dry before proceeding.
Essential Tools
- Baking Sheet: A standard baking sheet is needed to place the pork belly into the oven.
- Wire Rack: Elevates the pork belly, allowing hot air to circulate and crisp the skin evenly.
- Sharp Knife: Essential for scoring the skin.
- Paper Towels: To thoroughly dry the pork belly.
- Meat Thermometer: Ensures the pork belly is cooked to a safe internal temperature.
The Cooking Method(s)
Method 1: Oven-Roasted Pork Belly
This method produces consistently crispy skin and tender meat.
Ingredients:
- 2-3 pounds skin-on pork belly
- 2 tablespoons coarse sea salt
- 1 teaspoon freshly ground black pepper
- 1 teaspoon garlic powder
- 1/2 teaspoon dried thyme
- 1/2 teaspoon dried rosemary
Instructions:
- Preheat the oven: Preheat your oven to 400°F (200°C). Make sure your oven rack is in the middle position.
- Season the pork belly: In a small bowl, combine the salt, pepper, garlic powder, thyme, and rosemary. Rub the mixture all over the pork belly, focusing on getting it into the scores in the skin.
- Place on a wire rack: Place the seasoned pork belly on a wire rack set inside a baking sheet. This allows the fat to drip away and the skin to crisp evenly.
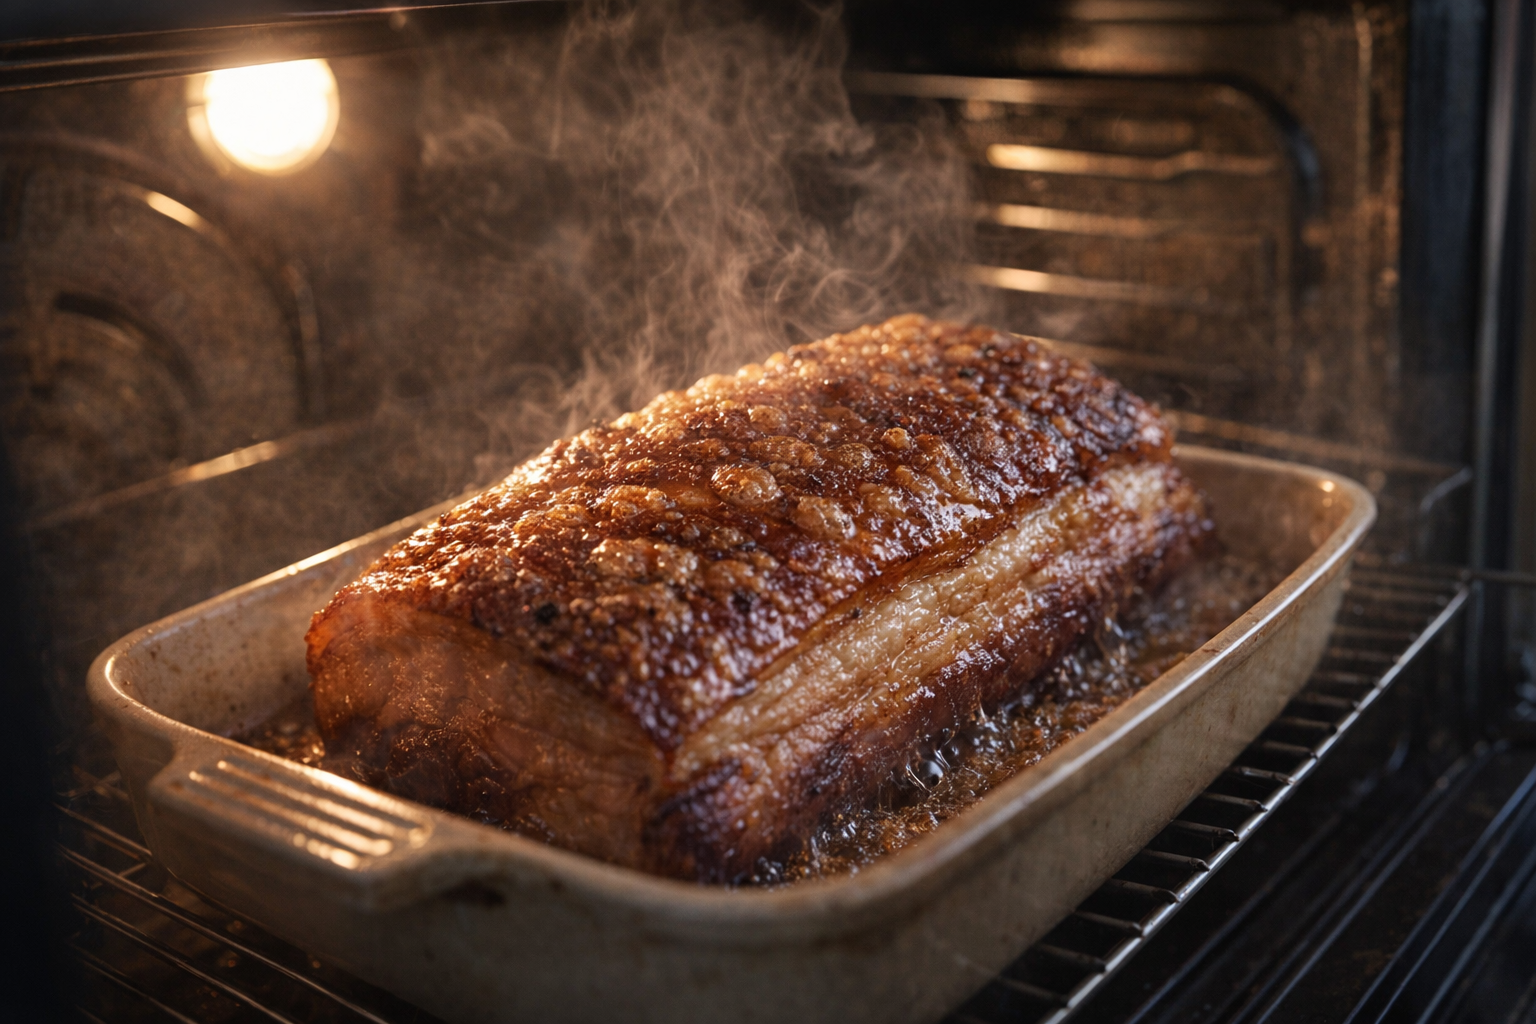
- Roast at high heat: Roast the pork belly for 30 minutes at 400°F (200°C). You should hear the fat sizzling and the skin starting to blister.
- Reduce heat and continue roasting: Reduce the oven temperature to 325°F (160°C) and continue roasting for another 1.5 to 2 hours, or until the internal temperature reaches 200°F (93°C). The skin should be deep golden brown and very crispy.
- Rest before slicing: Remove the pork belly from the oven and let it rest for at least 15 minutes before slicing. This allows the juices to redistribute, resulting in more tender meat.
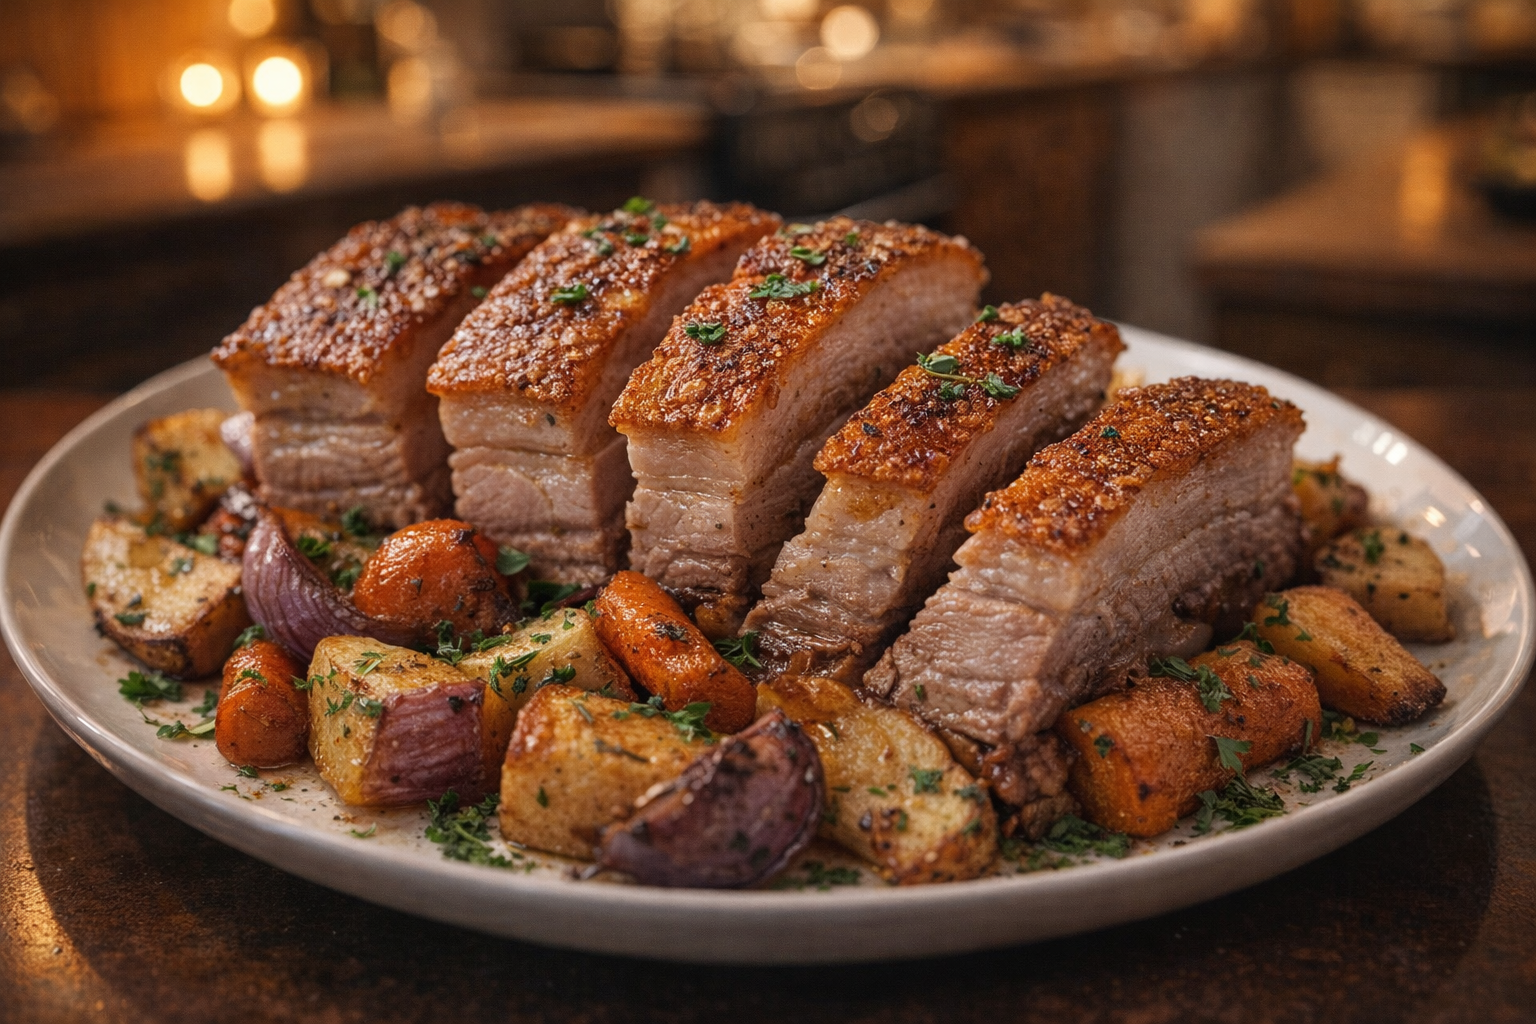
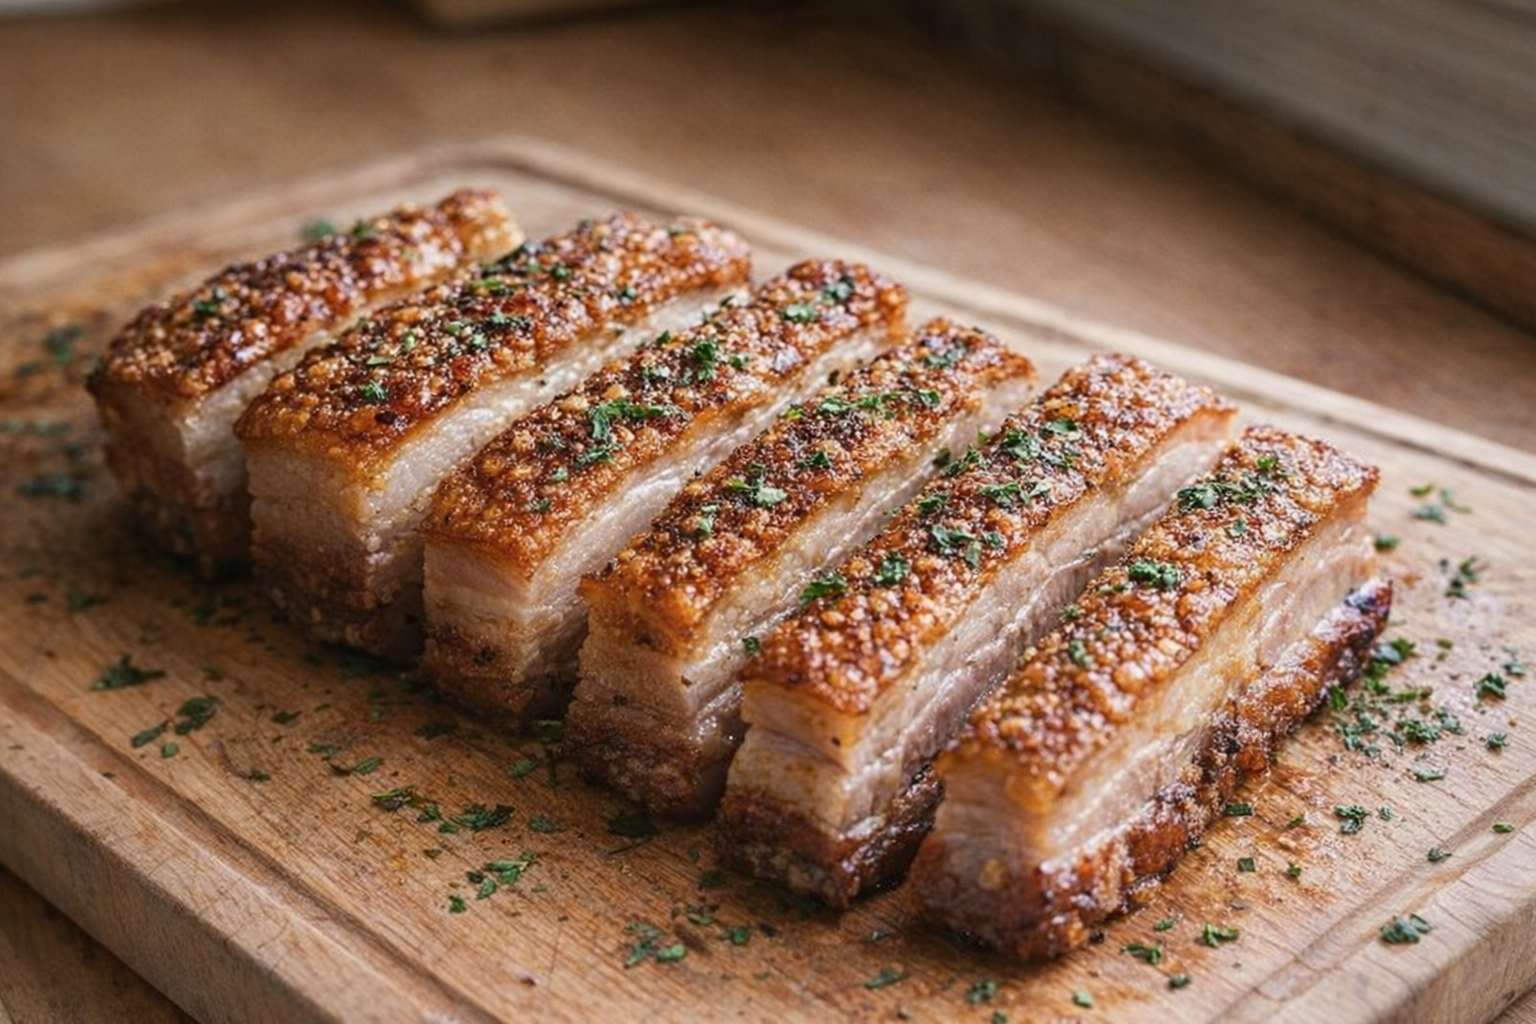
- Slice and serve: Use a sharp knife to slice the pork belly against the grain. Serve immediately and enjoy the crispy skin and tender meat.
Cooking Time & Doneness Guide
- Initial High Heat: 30 minutes at 400°F (200°C)
- Reduced Heat: 1.5-2 hours at 325°F (160°C)
- Internal Temperature: 200°F (93°C)
Visual Cues
- The skin should be deep golden brown and very crispy.
- The fat should be rendered and the meat should be tender.
- When you insert a knife into the meat, it should be very tender with little resistance.
Tips for Perfection
- Dry Skin is Key: Ensure the pork belly skin is as dry as possible before roasting.
- Don't Overcrowd: Make sure the pork belly is not touching the sides of the baking sheet, as this can prevent even cooking and crisping.
- Monitor Temperature: Use a meat thermometer to ensure the pork belly reaches the correct internal temperature.
- Resting is Crucial: Allow the pork belly to rest before slicing to retain moisture.
Storage & Reheating
- Storage: Store leftover pork belly in an airtight container in the refrigerator for up to 3 days.
- Reheating: To reheat, preheat the oven to 350°F (175°C). Place the pork belly on a wire rack set inside a baking sheet and bake for 10-15 minutes, or until heated through. To re-crisp the skin, you can broil it for a few minutes, but watch it carefully to prevent burning.
Serving Suggestions
- Pork Belly Bao Buns: Serve sliced pork belly in steamed bao buns with pickled vegetables and hoisin sauce.
- Pork Belly Ramen: Add slices of crispy pork belly to a bowl of ramen.
- Pork Belly Tacos: Dice the pork belly and serve in tacos with fresh cilantro, onions, and lime.
- With Roasted Vegetables: Serve alongside roasted root vegetables like carrots, parsnips, and potatoes.
💡 Pro Tips
- Thoroughly pat the skin dry with paper towels and refrigerate it uncovered for several hours to remove moisture for a better crunch.
- Score the skin with a sharp knife in a crosshatch pattern without piercing the meat to allow the fat to render and baste the roast.
- Apply a heavy layer of coarse salt to the skin to draw out moisture and create a perfectly blistered crackling during the high-heat phase.
- Begin roasting at a high temperature to initiate the skin's blistering before reducing the heat to finish cooking the meat until tender.
- Allow the pork belly to rest for at least ten minutes before slicing to ensure the meat stays succulent and the juices redistribute evenly.
Frequently Asked Questions
If the skin isn't crisping up, try increasing the oven temperature during the last 10-15 minutes of cooking. You can also broil it for a very short period, keeping a close eye to prevent burning, until the skin reaches your desired level of crispiness.
Absolutely! Feel free to experiment with different herbs based on your preferences. Rosemary, thyme, or even a touch of smoked paprika can add a unique flavor profile to the pork belly.
Store leftover pork belly in an airtight container in the refrigerator for up to 3 days. To reheat, bake in a preheated oven at 350°F (175°C) until warmed through, or pan-fry for a crispier result.
Use a very sharp knife or a razor blade to score the skin. Make shallow cuts in a crosshatch pattern, about 1 inch apart, being careful not to cut into the meat layer. This helps the skin render evenly and become crispy.